How to Install a Washing Machine
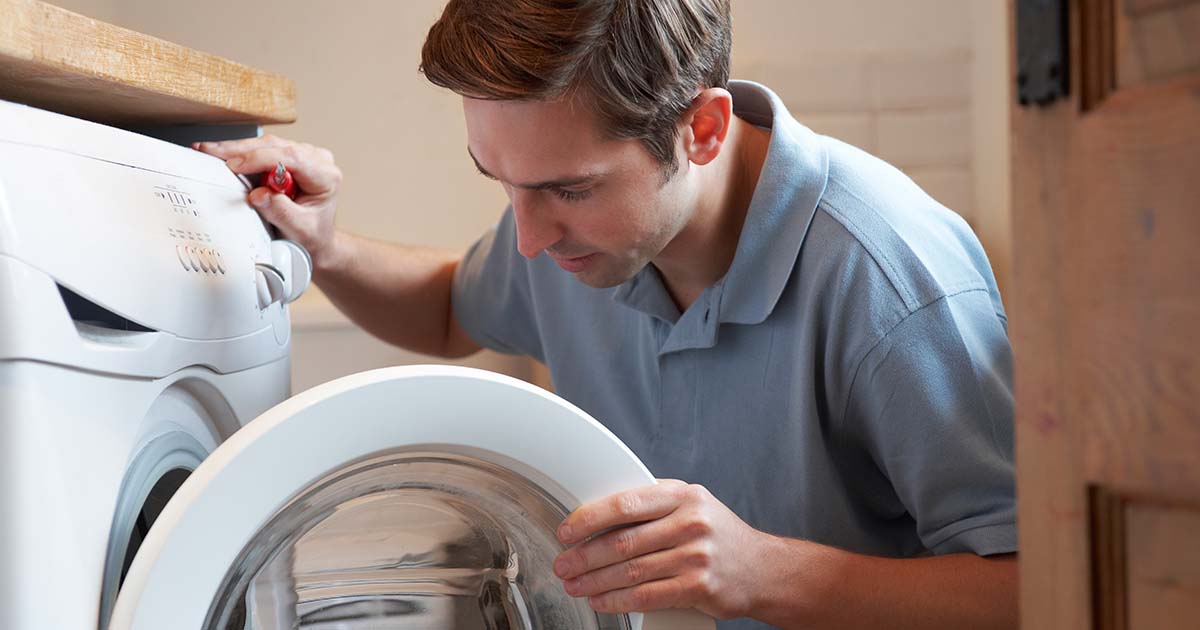
Whether you’ve just disposed of a broken or old washing machine or are installing one for the first time, following the correct steps will ensure a safe, efficient installation.
If you are learning about how to install a washing machine for the first time, the good news is that installing a washing machine doesn’t have to take all day or several helping hands to complete - you just need to make sure you’re prepared.
Always read the instruction manual that came with your machine before starting and remember to refer back to it if you find yourself stuck or feeling unsure.
How to Prepare for Your Washing Machine Installation
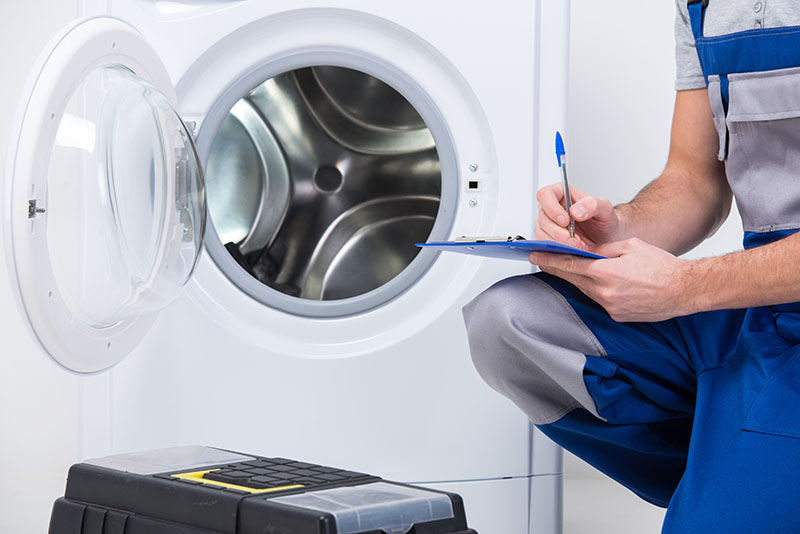
There’s nothing worse than psyching yourself up for a new home appliance installation just to find that you have to nip back to B&Q for a wrench. Preparing your tools and the pipe connections before you begin can save you a lot of frustration after you get started. Read our step-by-step guide for a hassle-free installation.
1. Ask for Help
If you are one of the four people who wish people would pass on their DIY skills – ask for help! You don’t necessarily need help to install a washing machine, but it’s safer (and easier) with another pair of eyes and helping hands when moving such an heavy appliance.
2. Prepare Your Tools
Crack out the DIY kit and lay out your tools before you start. You’ll feel the benefits when you’re crammed under the countertop trying to find the right screw head for a fitting!
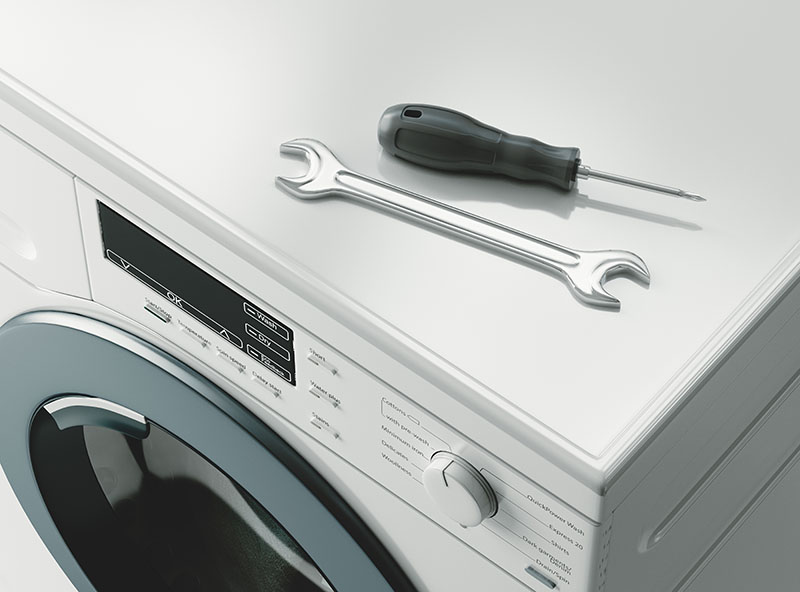
Gather these tools before you start to ensure a smooth installation:
- Wire Wool – for cleaning pipe connections to ensure a tight fit.
- Screwdriver – check which screw heads you’ll need to avoid any frustration mid-installation.
- Spanner, Wrench and Allen Keys – handy for tightening bolts and removing transit bolts.
3. Turn Off the Water
Before starting, ensure the supply pipes and mains water are turned off to prevent any leaks, especially if you’ve recently moved in or are replacing an old machine.
4. Clean the Area
Before you get started, you need to make sure that your water supply pipes are clean. Use the wire wool to rub around the pipe ends, removing any dirt and build-up as you go. This ensures a secure, leak-free connection.
How to Connect a Washing Machine
If you’ve removed an old machine, the pipe setup will look familiar. Colour-coded pipes should match as follows:
- Blue or white for cold water
- Red for hot
- Grey for drainage
If the colours differ, refer to your machine’s manual for guidance.
Preparing Your Machine
Before you put your new washer in, carefully unscrew the transit bolts from behind the machine. Sometimes you may need an Allen key to remove them instead of a spanner.
These keep your washing machine safe during delivery, but you won’t need them once the appliance is in place. When you have removed them, place them in a bag and label them. They can be placed back in the washing machine if you ever move house or sell it, so it can be safely transported in future without the drum moving and damaging the washing machine.
Connecting the Water Supply
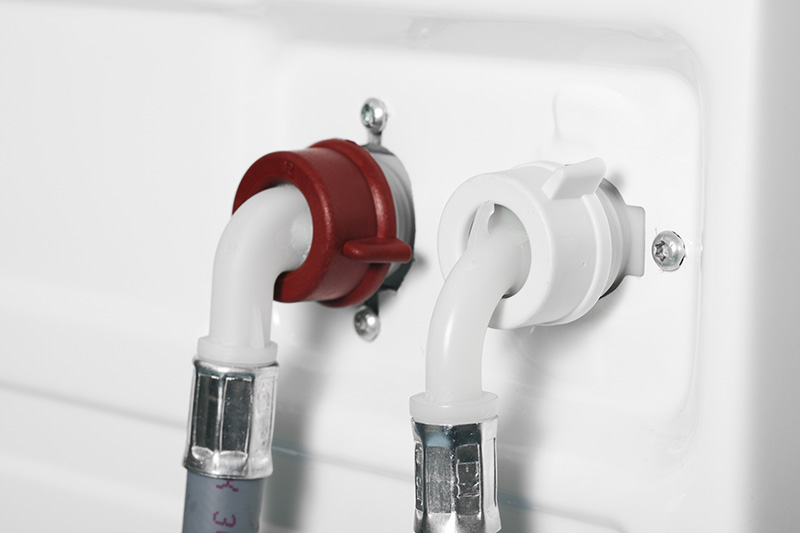
Most older machines will connect to two water supply hoses: both hot and cold. Newer machines don’t need hot water, however, so don’t get confused if you only see two connection pipes – one for cold water and one for expelling the waste water.
Remember, cold water pipes are marked in blue or white and hot water in red. If you need to connect both, make sure not to mix them up, as this could affect your machine when it starts to run.
- Attach the hose with a right-angled connector to the washing machine.
- Connect the straight connector to the water supply on the wall.
- Tighten both connections securely.
- Turn on the water supply by rotating the faucet anti-clockwise.
If your machine is not using the hot water, there’s no reason to leave the red connection open. Before pushing your washing machine against the wall, you should blank the open pipe end with a cap to prevent water leaking out.
Connecting the Waste Pipe
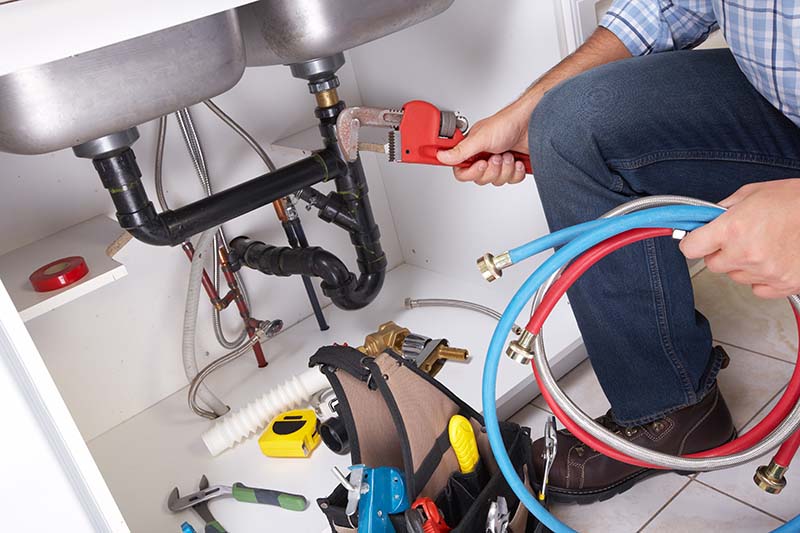
Installing a waste pipe, aka a drain hose, on a washing machine is slightly more complicated than connecting the inlet pipes.
To ensure proper drainage, the waste pipe must be positioned at the correct height. This setup prevents wastewater build-up and any potential backflow into your washing machine, keeping it clean and odour-free. Attaching the drain hose into an open standpipe with a P-trap (a specialised U-bend) at the bottom will drain the water effectively.
If you’re positioning your washing machine next to a sink, you can save space by repurposing your sink trap into a washing machine trap. This process takes a bit more know-how, but it can be handy if your kitchen is too tight for dedicated washer ports.
No matter which way you choose to install your machine, make sure that you always suspend the drain hose above the water supply. This keeps an air pocket between the outlet and the machine, preventing grey water from making its way back into your washer.
Connect the Washing Machine to an Electric Socket
If the socket is within easy reach, slide the washing machine into its final position, level it (more on that below), and plug it in.
For tighter spaces, plug the washing machine in first, then carefully move it into place, ensuring the cable doesn’t get pinched.
Once plugged in you should be ready to go!
Levelling The Washing Machine
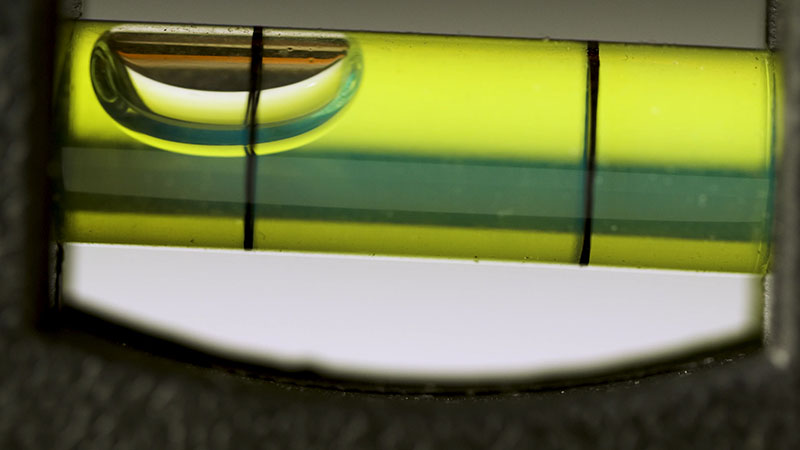
Once the washing machine is in position, check that it’s level to prevent rattling or excessive wear and tear during spin cycles. Most washing machines have adjustable feet—tighten or loosen these as needed until the machine is steady and level.
How To Check That a Washing Machine Is Level
To ensure your washing machine is level, use a spirit level on top of the machine:
- Place the spirit level horizontally across the top of the machine from left to right.
- If the bubble moves to the left, it means the left side is higher than the right. Lower the left feet or raise the right feet until the bubble is centred between the lines.
- Next, place the spirit level from front to back.
- If the bubble shifts forward, the front is higher than the back. Lower the front feet or raise the back feet until the bubble is centred.
Repeat these adjustments until the washing machine is fully level, ensuring it won’t rock or tilt during use.
Tip: If you don’t have a spirit level, you can use a clear measuring jug with water to check the level. The water line should appear even.
Though not a perfect solution, this should give you an idea if the washing machine is level and enable you to adjust the feet – just remember to remove the glass off the washing machine before making any adjustments!
How to Install an Integrated Washing Machine
Fitting a washing machine into an integrated kitchen is a very similar process to installing a standalone machine.
Integrated machines may have more fittings, bolts, and panels to work around, but the manual that came with your appliance should have a handy step-by-step installation guide to help you work around these.
Hopefully, if you disconnected your old washing machine yourself, you can remember the steps you took to disconnect it. If you’re ever unsure, you can contact the manufacturer or shop that you bought it from to ask for instructions.
What To Do with Your Old Washing Machine
Now that your new washing machine is set up, safely dispose of your old one. HIPPO’s Man and Van service offers a quick hassle-free collection to take it off your hands. For larger renovation projects, consider using a HIPPOBAG for a single collection of all your waste – you can even fit an entire kitchen rip-out in a HIPPOSKIP!

