How To Disconnect a Washing Machine
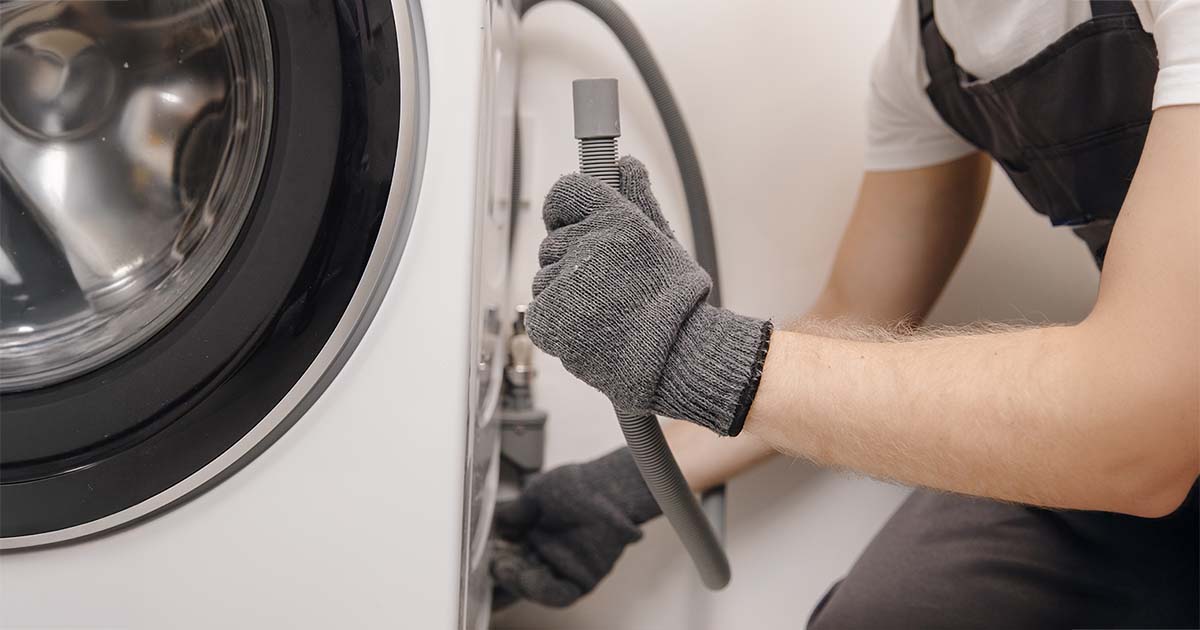
Whether you’re moving house, redoing your kitchen, upgrading to a new model, or disposing of a broken machine, disconnecting a washing machine can seem like a daunting task. In this step-by-step guide, we’ll walk you through everything you need to know to safely unplumb and disconnect your machine, making the process as simple as possible.
Step 1: Prepare to Disconnect Your Washing Machine
Before you begin, it’s important to gather all the necessary tools and safety equipment. Having everything on hand will ensure the process goes smoothly.
Tools and Equipment You'll Need:
- Screwdriver: You’ll need this to unscrew any fittings or attachments, especially if your washing machine is integrated into your kitchen.
- Spanner or Wrench: These tools are essential for loosening nuts and bolts on the water pipes connected to your machine.
- Gloves: Protect your hands, especially if you're dealing with rusty or dirty pipes.
- A Container: To catch any residual water from the pipes. A bucket or large bowl works well.
Tip: Before starting, make sure to consult your washing machine’s manual for any specific tools or instructions.
Step 2: Disconnect the Electric Supply
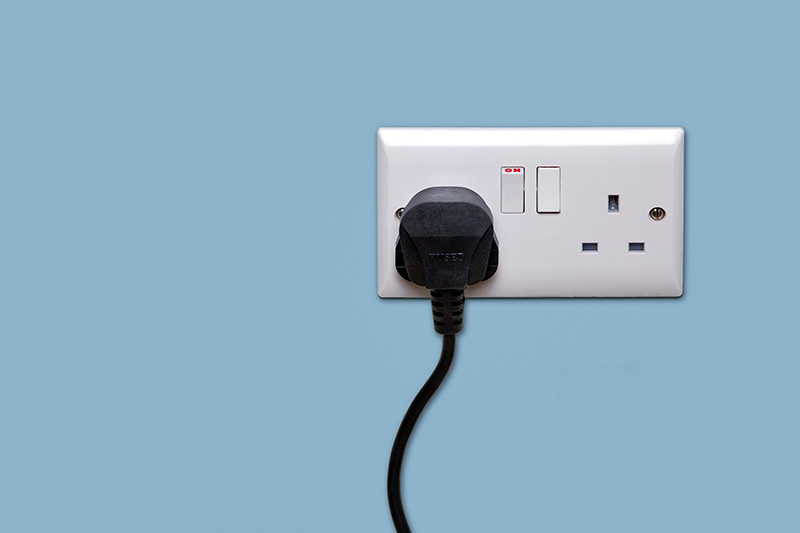
Learn how to unplug a washing machine safely to ensure no live current remains during disconnection.
- Unplug the machine: The first step is to unplug your washing machine from the mains. This ensures there’s no live current running through the machine.
- Turn off nearby sockets: Make sure any sockets near the machine’s water pipes – such as under a sink - are switched off in case of water spillage. Move any extension cords on the ground too, as they pose a tripping hazard or may also be at risk from water spillage.
Warning: Ensure the electric supply is fully disconnected before moving on to any water-related tasks to prevent electric shock.
Step 3: Turn Off the Water Supply
The next step is to prevent water from flooding your kitchen.
- Turn off the water supply valves: Locate the hot and cold-water supply valves behind the machine. These are often marked with red and blue taps. Turn them clockwise until they are fully closed to shut off the water supply.
- Turn off the mains water (optional): If you want to be extra cautious, turn off the water supply at the mains as well.
Step 4: Unplumb the Water Hoses
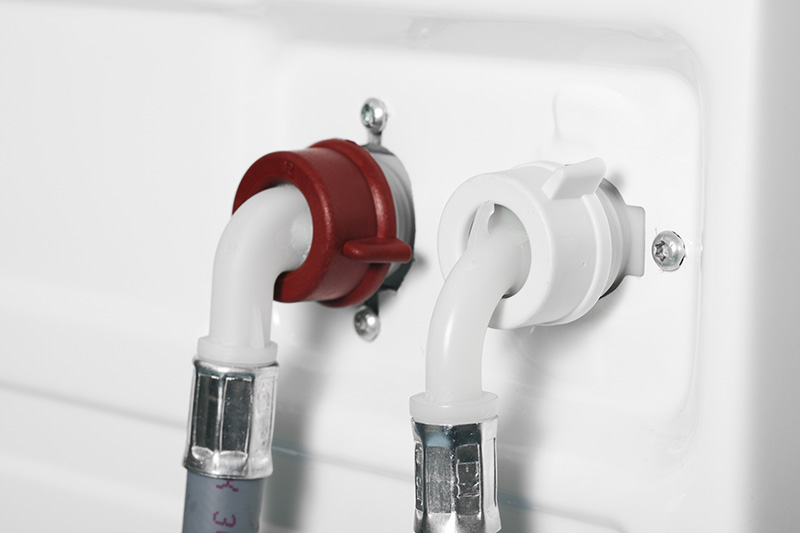
In this step, we’ll guide you on how to unplumb a washing machine safely and avoid water spills.
- Place your container under the pipes: Put your bucket or bowl under the hot and cold-water pipes to catch any remaining water.
- Loosen the pipes: Use your wrench or spanner to loosen the bolts on the pipes.
- Drain the pipes: Slowly detach the pipes and allow the water to drain into your container.
- Remove the pipes: Once all the water has drained, you can fully remove the pipes from the machine.
Tip: Make sure you have a heavy item to weigh down your bucket or container, especially if you expect a lot of water to drain out.
Step 5: Disconnect the Drain Hose
Next, it’s time to remove the drain hose that takes wastewater away from the machine.
- Find the drain hose: The drain hose is usually a grey pipe at the back of your machine.
- Loosen the hose: Follow your machine’s manual to safely loosen the hose.
- Drain any remaining water: Carefully place the end of the hose into your container to catch any leftover water.
Tip: If unsure, we recommend that you use the same guidelines you used when you installed your machine. if you still have them filed away safely that is.
Warning: The drain water may smell bad, especially if the machine hasn’t been maintained for a while. This is normal and doesn’t indicate a fault with the machine.
Step 6: Move the Washing Machine Out of a Tight Space
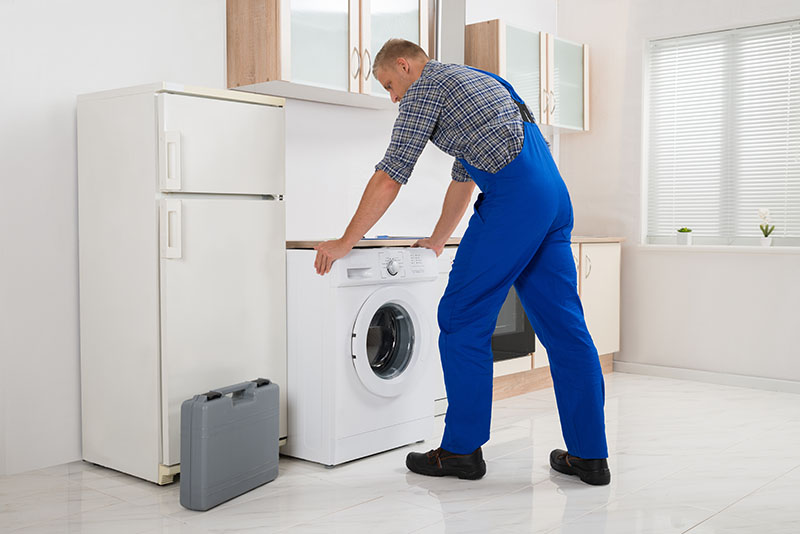
Now that all connections are disconnected, it’s time to move the machine. We’ll tell you how to move a washing machine out of a tight space, using sliders or a dolly for extra help.
- Get help if needed: Washing machines can be heavy, so it’s a good idea to have someone help you if possible.
- Gently pull the machine away from the wall: Be careful not to scrape the floor or damage the machine when moving it. A old thick towel or rug can help here.
- Use sliders or a dolly: To make the process easier, you can use furniture sliders or a dolly to move the machine.
Tip: Before moving the machine, ensure that the floor surface is clear and that there are no trip hazards, including small children and pets!
How to Disconnect an Integrated Washing Machine
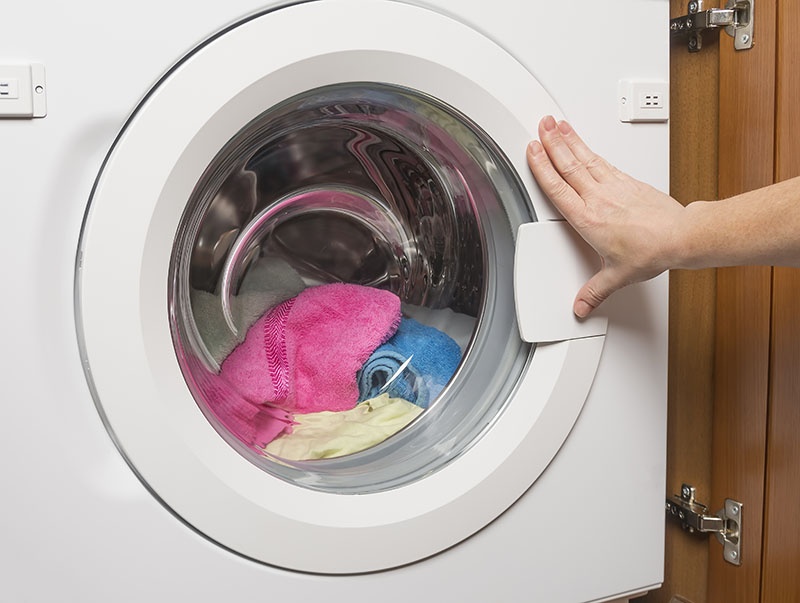
Removing an integrated washing machine requires an additional step before following the general process for disconnecting freestanding machines.
Step 1: Remove the Kitchen Fixtures
Integrated washing machines are typically secured to surrounding cabinets or worktops with screws or brackets. To free the machine:
- Open any nearby cabinet doors: This gives access to the sides and top of the machine.
- Locate the screws or brackets: These are usually on the sides, top, or underneath the machine.
- Unscrew or unfasten the machine: Use a screwdriver to carefully remove the screws or brackets holding the machine in place.
Tip: Be gentle when removing screws, especially if the machine is attached to the worktop, to avoid damaging cabinetry or kitchen units. Remember, you will need to use them again if replacing your old washing machine with a new integrated washing machine.
Step 2: Follow the Standard Disconnection Steps
Once your integrated machine is free of its fittings, you can now follow the same disconnection process as outlined in Steps 2 to 7 above. This includes:
- Disconnecting the power supply
- Turning off the water supply
- Unplumbing the hoses
- Moving the washing machine out of the space
For detailed guidance, refer back to Step 2 on disconnecting the electric supply and proceed through the remaining steps.
What Does a Plumber Charge to Disconnect a Washing Machine?
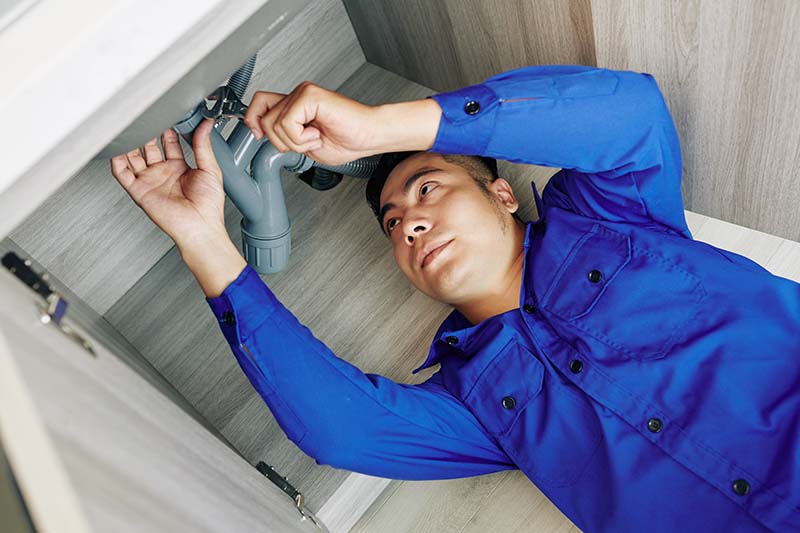
If you’re not comfortable disconnecting the machine yourself, you might consider hiring a plumber. On average, plumbers charge under £60 for this service, though prices may vary depending on your location, the complexity of the job, and the condition of your pipes.
Tip: If you have an integrated washing machine or if your pipes are rusted, expect the job to take a bit longer, which may increase the cost.
Conclusion: Easy Washing Machine Disconnection with HIPPO
Disconnecting a washing machine doesn’t have to be difficult if you follow the right steps. With the right tools and preparation, you can safely unplug and unplumb your machine without needing professional help. And when it’s time to get rid and dispose of the old washing machine, HIPPO is here to help with our convenient disposal services.

